
Introduction
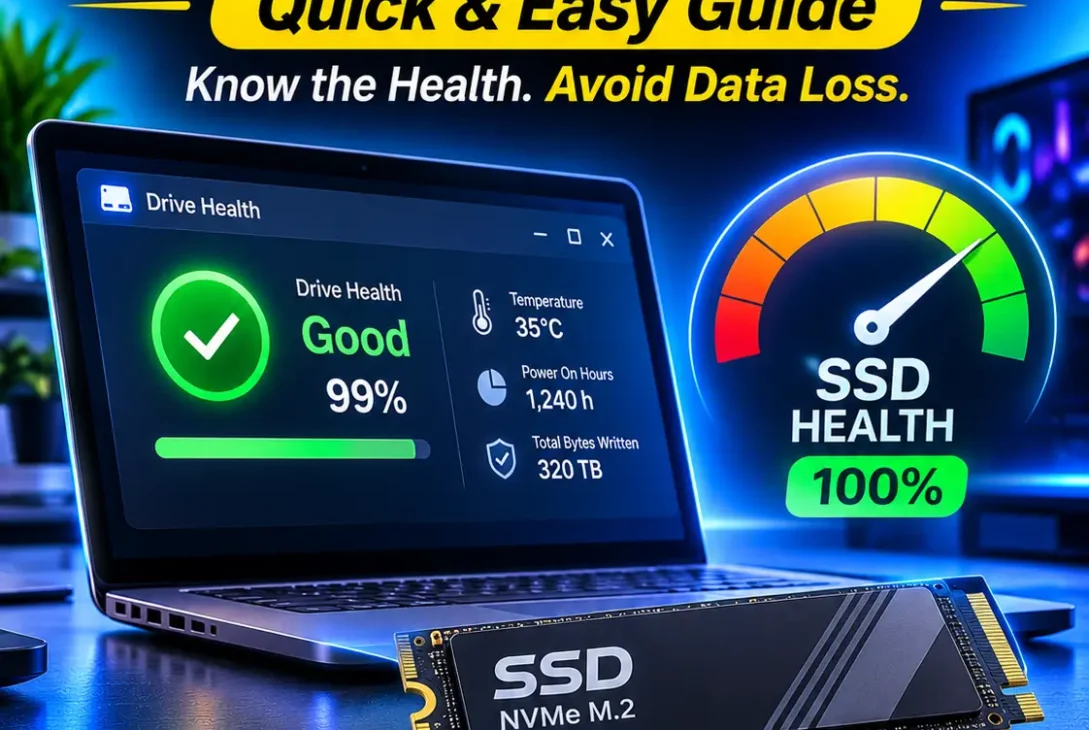
Your solid-state drive (SSD) stores your operating system, applications, documents, photos, and other important files. Although SSDs are generally reliable and faster than traditional hard drives, they can still wear out or develop faults. Knowing how to check SSD health helps you spot warning signs early, protect your data, and decide when a drive may need replacing.
You do not need specialist equipment for a basic check. Windows includes storage information and PowerShell commands, macOS offers Disk Utility, and Linux users can inspect SMART data with smartmontools. Free utilities such as CrystalDiskInfo can also make drive information easier to understand.
This guide explains how to check SSD health on Windows, Mac, and Linux. It also explains SMART status, temperature, remaining endurance, warning signs, and practical ways to protect your files.
Table of Contents
- What SSD Health Means
- Why You Should Monitor SSD Health
- How to Check SSD Health in Windows 11
- Check SSD Health Using PowerShell
- Use CrystalDiskInfo to Check SSD Health
- Check SSD Health With Manufacturer Software
- How to Check SSD Health on Mac
- How to Check SSD Health on Linux
- Understanding SMART Data and Health Percentage
- Signs Your SSD May Be Failing
- How to Extend SSD Lifespan
- Frequently Asked Questions
- Final Verdict
What Does SSD Health Mean?
SSD health describes the condition of a solid-state drive and the status of its built-in reliability indicators. It can include information about memory wear, spare capacity, temperature, operating hours, and data errors.
SSDs store data in NAND flash memory. These memory cells can only withstand a finite number of program-and-erase cycles. To manage this limitation, SSD controllers use techniques such as wear leveling, error correction, and spare blocks. These features distribute writes and help the drive continue operating as its memory cells age.
Many drives report their condition through SMART, which stands for Self-Monitoring, Analysis, and Reporting Technology. SMART information gives monitoring software access to attributes reported by the drive. NVMe SSDs also expose health information through their own SMART/Health Information log.
Depending on the model, you may see:
- Percentage Used: An estimate of the rated endurance that has been consumed.
- Available Spare: The remaining reserve of replacement capacity.
- Temperature: The current reported drive temperature.
- Power-On Hours: How long the drive has been powered on.
- Data Written: The amount of data written by the host.
- Media Errors: Reported errors involving stored data.
- Critical Warning: A flag indicating a condition that may need attention.
If you are learning how to check SSD health, understanding these indicators is just as important as finding the right monitoring tool.
Why Should You Monitor SSD Health?
Checking your drive from time to time helps you understand its condition and respond to warnings before they become urgent.
Identify endurance wear
Every SSD has a rated endurance, often expressed as terabytes written (TBW). This is the amount of data the manufacturer rates the drive to handle under specified conditions. For example, a drive rated for 600 TBW has a specified endurance rating of 600 terabytes written.
Reaching the TBW rating does not mean the SSD will immediately stop working. It does mean the drive has reached its rated write endurance, so you should pay attention to its condition and keep backups current.
Detect reported errors
SMART attributes can show increasing media errors, declining spare capacity, or critical warnings. These indicators cannot predict every failure, but they can reveal problems that deserve investigation.
Protect important files
A computer may continue running even when its storage device is reporting warning signs. Checking the drive gives you an opportunity to copy important documents, photos, and work files before the situation becomes worse.
Monitor temperature
High temperatures can cause some SSDs to reduce their speed temporarily. This is known as thermal throttling. Monitoring temperature can help identify cooling problems, particularly with high-performance NVMe drives in laptops or compact desktop computers.
Regular monitoring is a practical part of understanding how to check SSD health before storage issues affect your everyday work.
How to Check SSD Health in Windows 11
Windows 11 includes a storage health view for supported drives. It is a convenient first step because it does not require a separate application.
- Open Settings from the Start menu.
- Select System, then Storage.
- Expand Advanced storage settings.
- Choose Disks & volumes.
- Select the SSD you want to inspect.
- Open Properties.
- Look for the Drive health section, if it is available.
On supported devices, Windows may show estimated remaining life, available spare capacity, and temperature. The exact fields depend on the SSD and the way Windows communicates with it.
What if Drive Health is not shown?
A missing health section does not automatically mean the SSD is faulty. Some SATA drives, USB-connected devices, RAID configurations, and storage drivers do not expose the information Windows needs.
If the section is unavailable, try PowerShell or a monitoring utility. These alternatives can sometimes read details that are not shown in Settings.
This is why how to check SSD health can involve more than one method: not every computer exposes the same storage information.
Check SSD Health Using PowerShell
PowerShell can display the general status of physical disks and, on supported hardware, additional reliability counters. It is useful if you want to perform a quick check without installing software.
Step 1: Open an administrator terminal
Right-click the Windows Start button and select Terminal (Admin) or Windows PowerShell (Admin). Approve the permission prompt if it appears.
Step 2: View physical disk status
Run:
Get-PhysicalDisk | Select-Object FriendlyName, MediaType, HealthStatus, OperationalStatus, SizeThe output may include the drive name, media type, health status, operating status, and capacity. A status of Healthy is reassuring, but it is not a guarantee that every SMART attribute is normal.
Step 3: Request reliability counters
Run:
Get-PhysicalDisk | Get-StorageReliabilityCounter | Format-ListDepending on the drive and driver, the output may include temperature, wear, read or write errors, and power-on hours. Blank fields usually mean Windows cannot retrieve that particular value.
These commands provide useful clues, but they are not a complete diagnostic test for every SSD model. If you want to know how to check SSD health without downloading an application, PowerShell is a useful starting point.
Use CrystalDiskInfo to Check SSD Health
CrystalDiskInfo is a widely used drive-monitoring utility that presents SMART attributes in a readable interface. It is useful when you want more detail than Windows Settings provides.
To use it:
- Download CrystalDiskInfo from its official website.
- Install or extract the version you selected.
- Open the application.
- Choose your SSD if more than one drive is listed.
- Review the health status, temperature, and SMART attributes.
Depending on the drive, you may see its model, firmware, power-on hours, total host writes, and individual reliability attributes.
CrystalDiskInfo commonly displays three health labels:
- Good: The attributes checked by the utility do not currently trigger its warning conditions.
- Caution: An attribute has reached a condition that deserves attention. Back up important files and investigate the value.
- Bad: A monitored attribute has reached a critical threshold. Back up accessible data immediately and plan to replace the drive.
The labels depend on the attributes and thresholds reported by the drive. Do not assume that every manufacturer uses identical limits.
For many Windows users, this is one of the simplest ways to learn how to check SSD health and view several drive indicators in one place.
Check SSD Health With Manufacturer Software
SSD manufacturers often provide utilities designed for their own products. These programs may offer model-specific health information, firmware updates, and performance tests.
- Samsung Magician: Provides drive information, health monitoring, performance tools, and firmware features for supported Samsung SSDs.
- Crucial Storage Executive: Offers drive details, health information, and management features for compatible Crucial models.
- Kingston SSD Manager: Displays information and supported maintenance features for compatible Kingston SSDs.
- Western Digital Dashboard: Provides health, temperature, firmware, and performance information for supported WD drives.
Compatibility varies by model and product family. Download these utilities only from the manufacturer’s official website. A utility may not recognise a drive connected through an unsupported USB enclosure or controller.
Manufacturer software can be particularly helpful when a general monitoring application does not display all the attributes for your specific SSD.
How to Check SSD Health on Mac
Mac users can start with Apple’s built-in Disk Utility. The SMART information available depends on the drive and its connection.
- Open Finder and go to Applications.
- Open Utilities, then launch Disk Utility.
- Select View from the menu.
- Choose Show All Devices.
- Select the physical storage device in the sidebar.
- Click the Info button to review available details.
If the drive exposes SMART information to macOS, Disk Utility may show its status. A verified status means the available SMART system has not reported a problem. It does not guarantee that the drive cannot fail.
Some external SSDs, adapters, and third-party enclosures do not pass SMART information through to macOS. If you cannot see a status, it may be a compatibility limitation rather than evidence of damage.
If macOS reports a fatal hardware error, back up as much data as possible and arrange service or replacement. Disk Utility cannot repair a physical hardware failure.
For Mac owners researching how to check SSD health, the important point is that Disk Utility can only report information that the connected drive makes available.
How to Check SSD Health on Linux
Linux users can inspect supported SSDs with smartmontools, a package that includes the smartctl command.
Step 1: Install smartmontools
On Ubuntu or Debian-based distributions, open Terminal and run:
sudo apt update
sudo apt install smartmontools
Other distributions use their own package managers.
Step 2: Identify the drive
Run:
lsblk -o NAME,MODEL,SIZE,TYPEUse the output to identify the correct SSD device name. Do not guess the device path.
Step 3: Read SMART information
For a SATA drive, the path may look like this:
sudo smartctl -a /dev/sdaFor an NVMe drive, it may look like this:
sudo smartctl -a /dev/nvme0Replace the example path with the device name shown on your system. The output may include temperature, power-on hours, data written, error logs, and health indicators.
If smartctl cannot access the drive, check the device path, permissions, and supported options. USB adapters and RAID controllers can limit access to SMART data.
Understanding SMART Data and SSD Health Percentage
The results are useful only if you understand what they mean. When learning how to check SSD health, remember that a health percentage is not a universal score shared by every brand.
Percentage Used
NVMe drives commonly report Percentage Used. It estimates how much of the rated endurance has been consumed. It is not the percentage of storage space filled with files.
For example, a value of 25% indicates that the drive estimates it has used about one quarter of its rated endurance. A value of 100% means the rated endurance estimate has been consumed; it does not mean the SSD must stop working immediately.
Available Spare
Available Spare represents reserve capacity available to replace memory blocks that can no longer be used reliably. NVMe drives may also report an available-spare threshold. A critical warning can occur if the spare level falls below that threshold.
Temperature
Check the temperature against the operating range specified by the SSD manufacturer. There is no single ideal temperature for every model. If a drive regularly becomes too hot, improve airflow and check whether its heatsink or cooling arrangement is installed correctly.
Total Host Writes
This value records how much data the computer has written to the drive. You can compare it with the manufacturer’s TBW rating for context. Host writes are not necessarily identical to the total writes performed internally by the NAND memory because the controller also carries out background operations.
Media and Data Integrity Errors
These counters can indicate problems involving stored data. A changing error count or critical warning should not be ignored. Back up important files and check the manufacturer’s guidance for the specific model.
Signs Your SSD May Be Failing
SMART monitoring is helpful, but it is not the only way to notice a storage problem. Watch for unusual behaviour, while remembering that these symptoms can also have other causes.
- Repeated freezing: The computer freezes while opening files, starting applications, or loading the operating system.
- File corruption: Documents become unreadable, files disappear, or repeated read errors occur.
- Boot problems: The computer suddenly struggles to start or displays storage-related boot errors.
- System warnings: Windows or macOS reports a drive reliability or hardware warning.
- Unexpected slowdowns: File transfers or application loading become unusually slow. Low free space, background tasks, and overheating can also cause this.
If you suspect a failing SSD, back up important data before running lengthy tests or attempting repairs. If the drive is making data inaccessible or repeatedly disconnecting, minimise unnecessary use and consider professional data recovery for irreplaceable files.
https://learn.microsoft.com/en-us/powershell/module/storage/get-physicaldisk
How to Extend SSD Lifespan
Modern SSDs are designed for everyday workloads, so you do not need to avoid normal computer use. A few sensible habits can help keep the drive operating reliably.
Keep enough free space
Avoid running the drive almost completely full. Leave room for temporary files, updates, applications, and normal operating-system activity. The ideal amount depends on the drive capacity and workload.
Maintain good cooling
Keep laptop vents clear and ensure desktop airflow is adequate. High-performance NVMe drives may benefit from a heatsink when the manufacturer or motherboard recommends one.
Avoid unnecessary benchmark testing
Repeated benchmark runs create additional writes and heat. Run a test when you have a reason to investigate performance, rather than continuously testing the drive.
Update firmware carefully
Manufacturers sometimes release firmware updates to address compatibility, reliability, or performance issues. Check the official support page for your exact model, back up important files, and follow the update instructions.
Keep reliable backups
This is the most important precaution. Even a drive with healthy SMART indicators can fail unexpectedly. Keep another copy of important files on an external drive or a reputable cloud backup service.
Frequently Asked Questions
1. How to check SSD health in Windows 11?
Open Settings, go to System > Storage > Advanced storage settings > Disks & volumes, select your SSD, and open Properties. If supported, Windows displays a Drive health section. PowerShell and CrystalDiskInfo are alternatives.
2. What is a good SSD health percentage?
A higher remaining-life reading generally indicates more rated endurance remains, but manufacturers calculate and display health differently. Check the specific SMART attributes and documentation for your model instead of relying on one number.
3. How often should I check SSD health?
For a typical personal computer, checking every few months is a reasonable routine. Check sooner if you notice errors, unusual behaviour, or a storage warning.
4. Can an SSD fail even if its health is 100%?
Yes. A 100% health reading does not guarantee that a drive cannot fail. Controllers, firmware, electronic components, power problems, and other faults can cause failure even when the endurance indicator looks normal.
5. Does checking SSD health damage the drive?
Reading SMART information with a trusted monitoring utility is generally a low-impact operation. It does not meaningfully consume the drive’s rated write endurance.
6. What does 100% SSD wear mean?
For an NVMe drive, Percentage Used at 100% means its estimated rated endurance has been consumed. It does not mean the SSD has automatically stopped working. Keep backups current and consider replacement, especially if other warnings appear.
7. Can I check SSD health on a MacBook?
Yes. Open Disk Utility, choose View > Show All Devices, select the physical storage device, and review its information. SMART status appears only when the drive and connection make it available to macOS.
8. Should I replace an SSD with a Caution status?
First back up your data and identify which attribute triggered the warning. Some warnings require monitoring, while increasing errors or declining spare capacity may indicate that replacement is necessary. Follow the drive manufacturer’s guidance.
Final Verdict
Knowing how to check SSD health helps you monitor storage wear, identify reported errors, and protect important files. Windows users can begin with Drive health or PowerShell, while CrystalDiskInfo and manufacturer utilities can provide additional SMART details. Mac users can check supported drives in Disk Utility, and Linux users can use smartmontools.
Do not rely on one percentage as a guarantee that a drive is safe. Review warnings, temperature, error information, and unusual computer behaviour together. Most importantly, keep regular backups. Monitoring can help you spot warning signs, but a backup is what protects your d